


Turning up the truths on spring turnout

Five ideas to help boost silage in 2022

Two ideas for better silage in 2022

Can additive gains help future-proof farms?

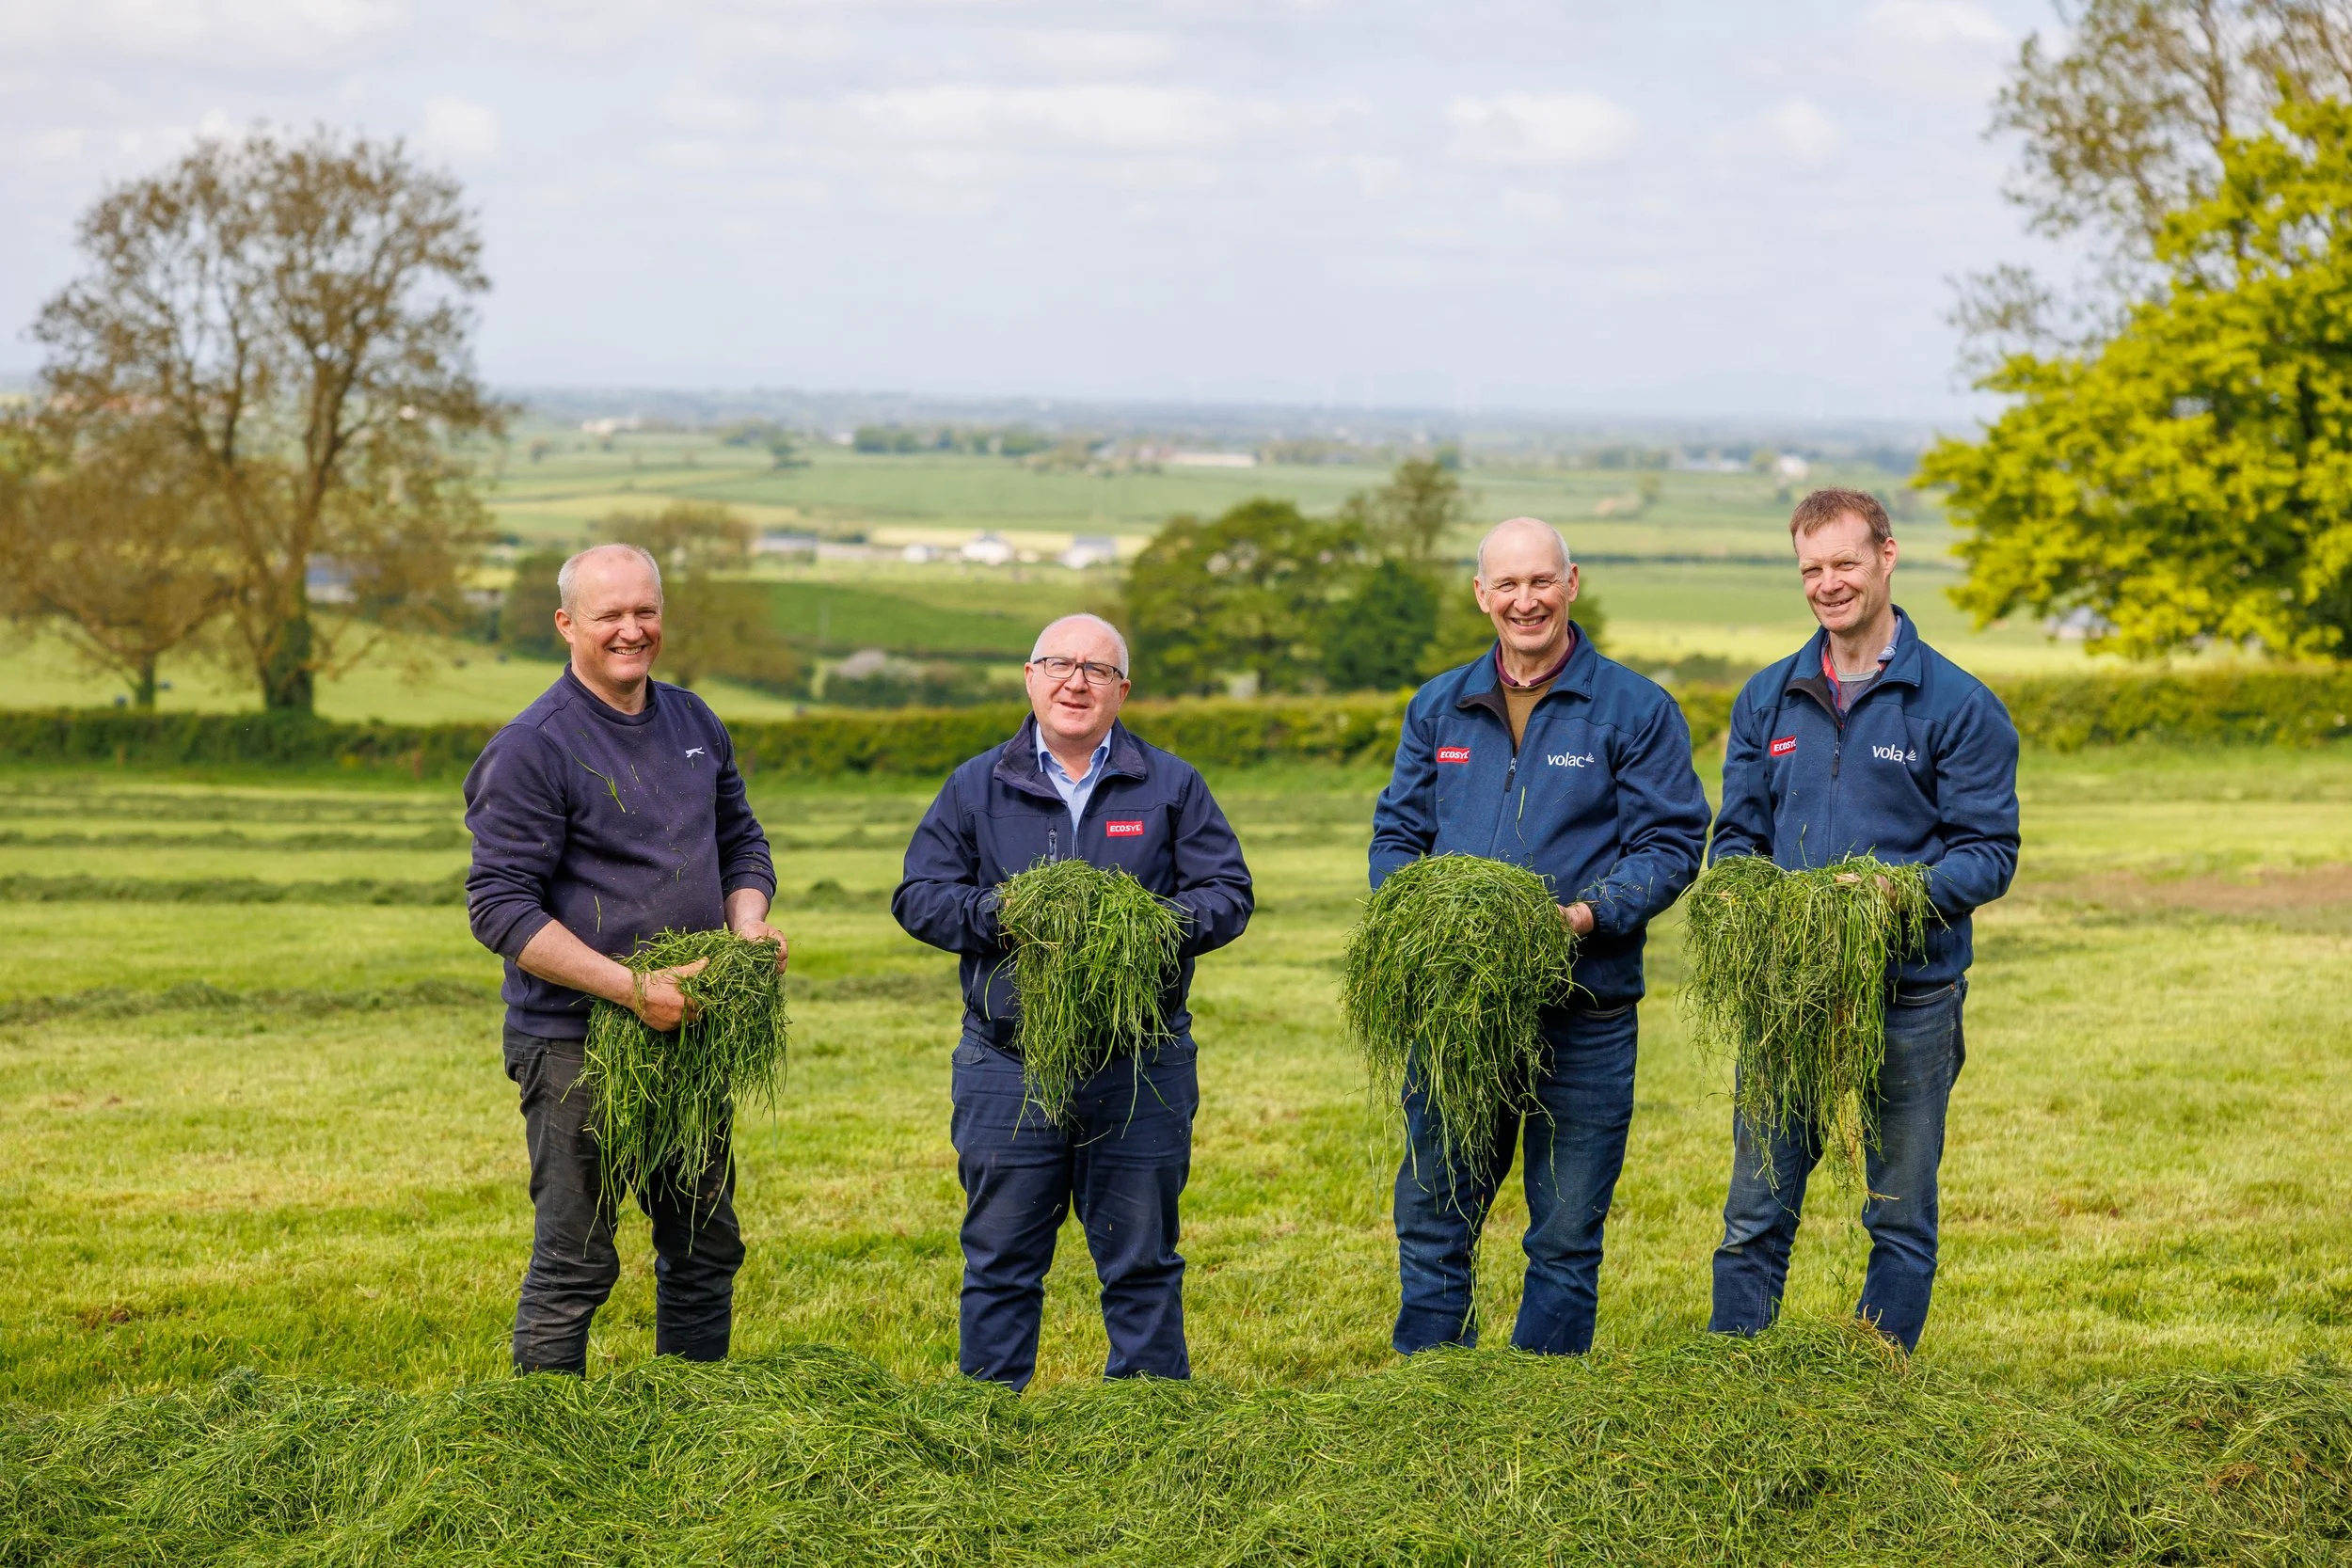
Family’s forage focus sees improvements in milk yield and herd health.
Competition Winners Capture UK Farming at it's Best

Earlier this year we ran our yearly calendar competition, where our fantastic followers get the chance to enter our photography competition through Facebook. The competition, called Volac Forage Calendar Competition, featured various farming categories – from Silage Making, to Young Farmers and Farming Views – which shows UK farming at it's best!
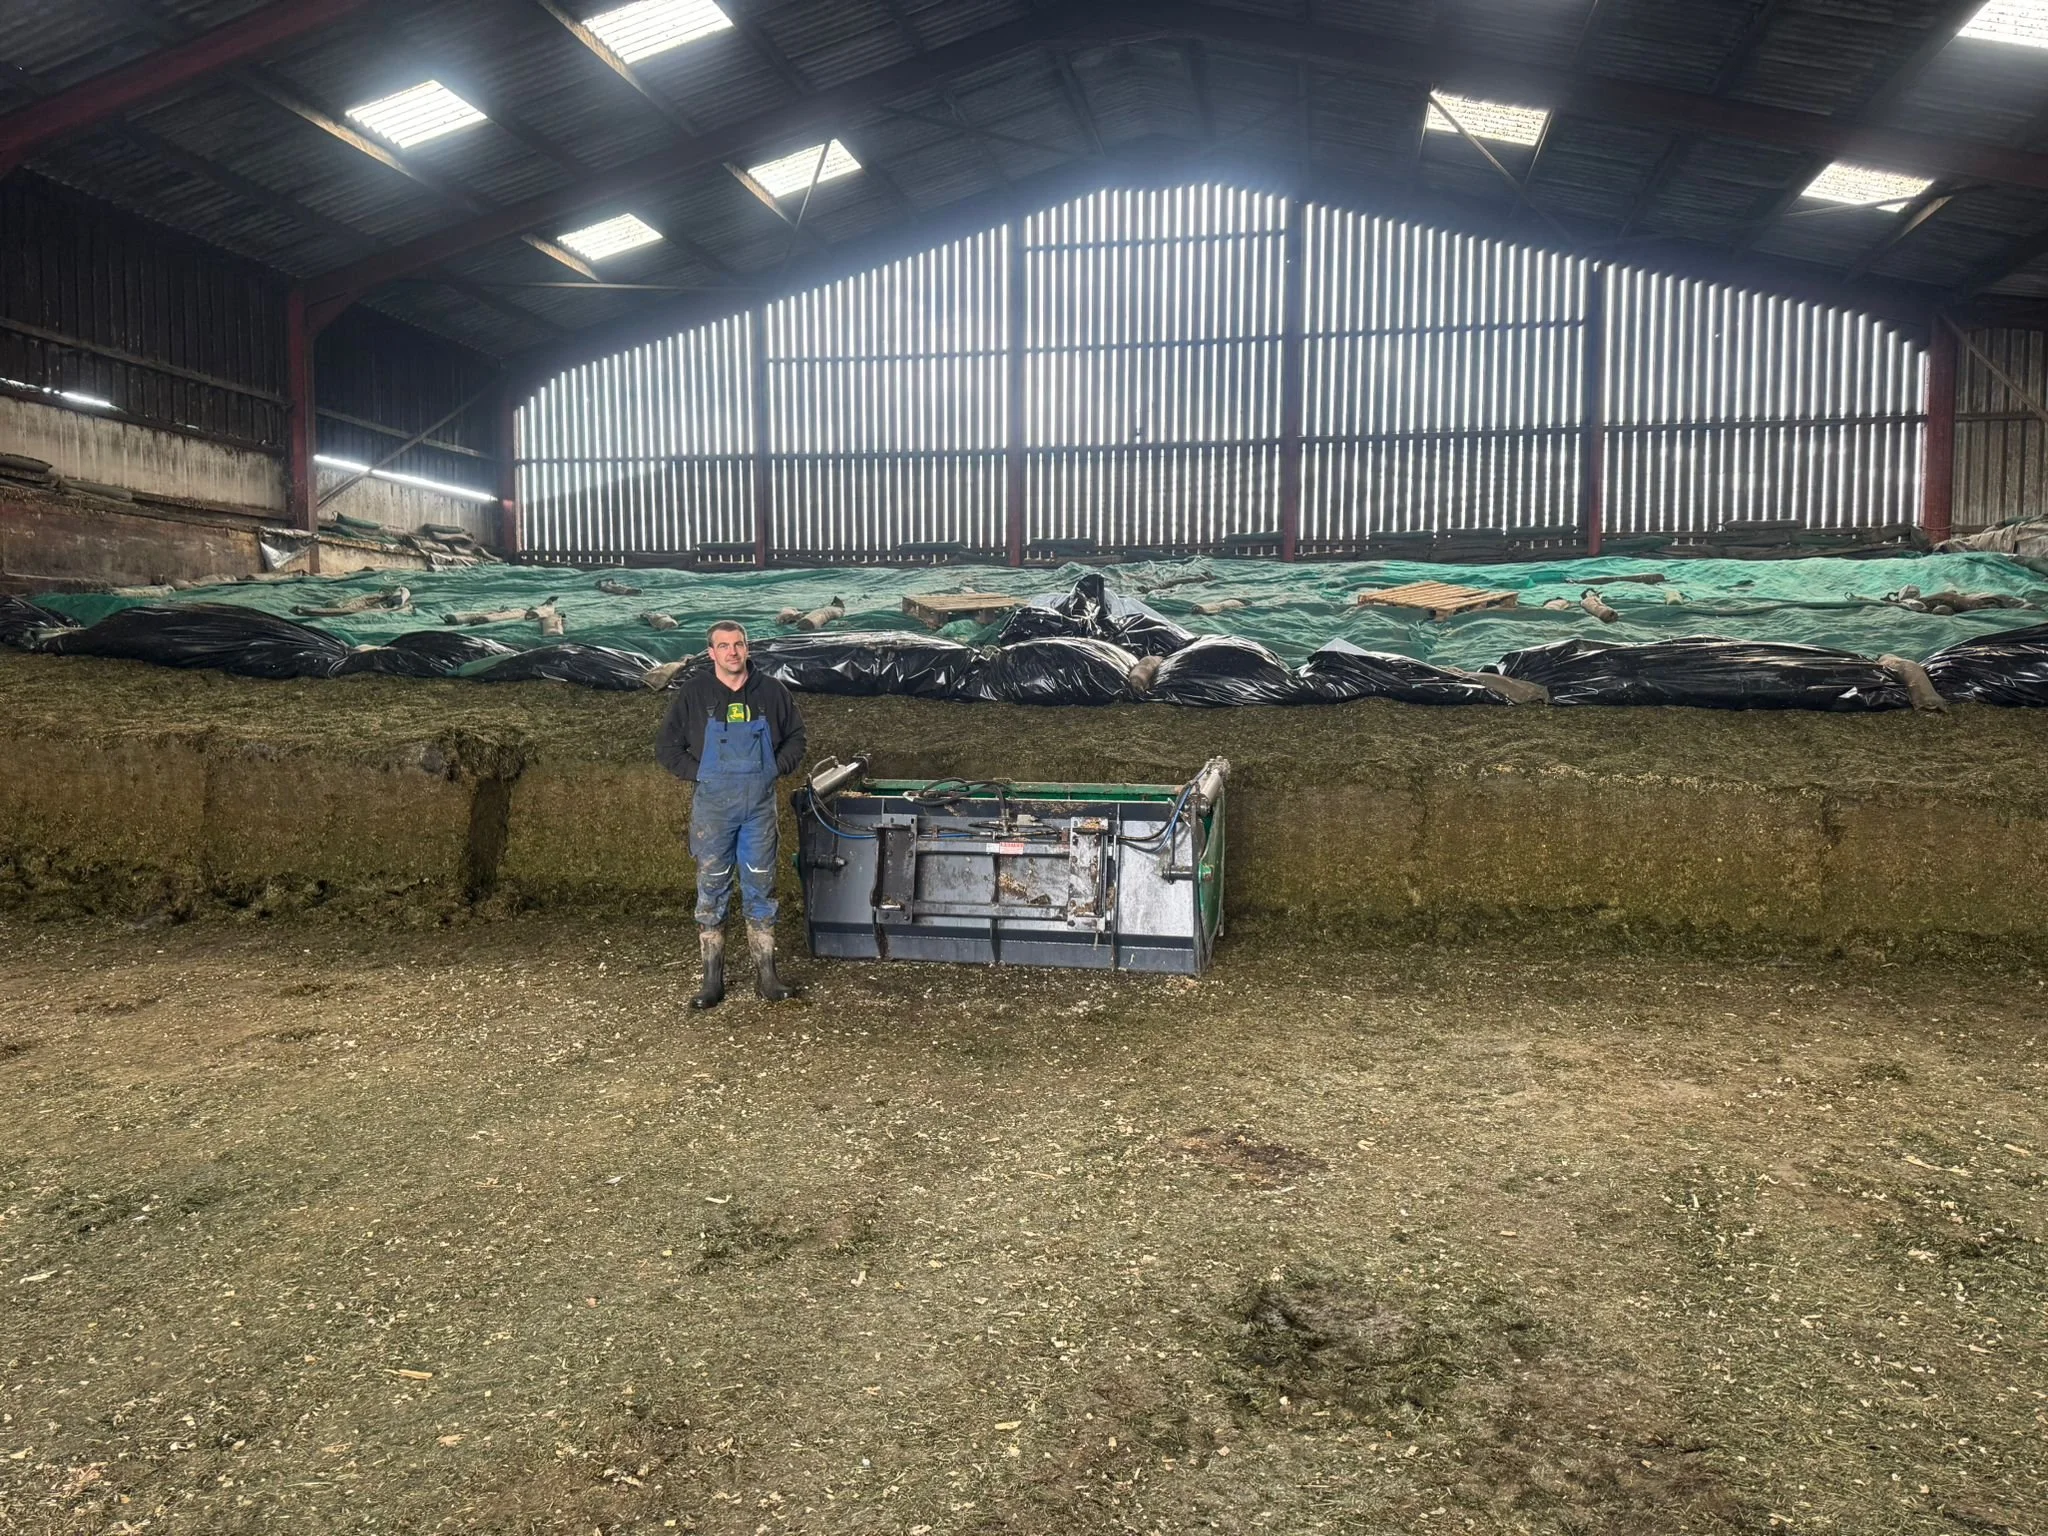
Five points to check in your clamp to help boost next season’s silage
Looking to produce more milk from forage? Use our five point checklist to examine your clamp and see what lessons it can reveal to help you boost next season's silage.

Don’t just view your grass clamp as a storage pit. Open clamps also provide an invaluable source of information, which can help improve your silage-making next year.
Why bother examining your clamp?
Your silage is fed for six months of the year or more and its quality and quantity can have a massive impact on a farm’s financial health.
Five point checklist for your clamp
1. How does the clamp look?
Begin by making an assessment of how tidy the clamp is. And be honest with yourself.
Is the face untidy and allowing air to get in? If so, correcting an untidy face is a fairly ‘easy fix’. If you do it now, it can make a big difference to reducing air ingress and surface wastage this year.
If waste is present deeper in the clamp, it may be sign of a poor fermentation. Which means the way silage is made may need improving in future.
Better clamp consolidation, correct use of a proven additive, and improvements in clamp sealing are all things that may need considering.
Inadequate consolidation is a big problem nowadays, because trailers often arrive at clamps in rapid succession, leaving little time to properly compact and roll the previous load.
If darker, black layers are visible in the silage, it can be a sign that excess nitrogen was present in the grass when it was harvested. After applying nitrogen, it is important to allow a long enough window before cutting.
2. Temperature – how cool is it?
Another good indicator of the quality of the silage’s compaction is its temperature. It needs to stay cool.
If it’s heating up it’s a sign of aerobic spoilage, which is caused when yeasts and moulds feed on the silage in the presence of air. This action effectively ‘burns up’ its nutrients.
Unfortunately, problems with heating in the clamp won’t go away when the silage is exposed to more air at feed-out. You may need to consider an additive to reduce heating in the feed trough.
To prevent heating next season, better clamp consolidation and sealing may be required.
3. Smell – what does the silage smell like?
Another simple check is how the silage smells. Is it sweet or unpleasant?
If it’s unpleasant, it could be signs that a poor fermentation, caused by undesirable micro-organisms, has taken place. As with aerobic spoilage (heating), this means some of its feed value will have been lost. Even if you’ve done all the other ensiling steps well, if the fermentation hasn’t been effective, your other efforts may have been undermined.
Next season, take as many steps as possible to ensure only ‘good bacteria’ that produce the right type of fermentation dominate the clamp.
4. Feel – how does it feel?
Next, check the silage’s texture.
Slimy silage can also be a sign of excess nitrogen present in the grass at harvest, and can also be due to low sugars and a poor fermentation allowing undesirable microbes to take hold. These undesirable microbes have effectively started to break down what’s in the clamp.
As well as checking whether silage is slimy, check also whether it is leafier or more fibrous than you expected. If it’s excessively fibrous, it suggests the grass was cut too late and contains excess stem material – for example if cutting was delayed in pursuit of extra bulk.
The optimum cutting time for both yield and quality is just before grass starts heading. After heading, its digestibility falls by about 0.5% a day.
5. Moisture – how wet or dry is the silage?
Finally, assess the silage’s moisture content.
If it’s wetter or drier than expected, it may be a sign that your wilting technique needs re-checking. Wilting to 28-32% dry matter – and doing it rapidly – is the optimum for both minimising in-field losses and minimising effluent risk in the clamp.
If the silage is wetter than the grass that was originally ensiled, it can be another sign that the fermentation was slow and inefficient. That’s because a by-product of a slow fermentation is water. Ensiling with a proven additive will reduce this risk.
Next steps to consistently better silage.…
Rather than relying on memory when making these assessments, make a few notes of any good and bad points as you’re going along, and keep them safe.
Better still, take photos too as a visual reminder.
By doing this, you can prepare a simple action plan of any improvements necessary – such as re-assessing your cutting dates or clamp consolidation and sealing methods, or ordering a proven additive.
Head over to our treating silage page today.
Harvest checklist to help farmers capitalise on sustainability of maize
With the drive to farm sustainably, be sure to capitalise on the excellent potential in this year’s forage maize crops as a high-energy, home-grown feed for dairy cows. Do this by minimising nutrient losses and wastage when turning maize crops into silage.

Those are the messages from Volac silage expert Ken Stroud, who says this season has set the scene for some very good maize crops. But maize can harbour a range of undesirable microbes – for example on dying leaves and on rotting tassels that collect in leaf joints – which can feed on its nutrients and interfere with preservation in the clamp.
“Unless prevented, undesirable bacteria, yeasts and moulds can cause losses equivalent to between one and two trailer loads of dry matter out of every 10 trailer loads ensiled,” says Mr Stroud. “More importantly, losses aren’t just the least nutritious parts of the dry matter. They are likely to be sugars and starches, which are the main energy sources that maize is grown for.”
To help farmers minimise losses and lock-in the maximum sustainability benefits of maize, Volac has prepared a five-point checklist of some best practice harvest and ensiling tips.
1. Harvest maize at its peak
Maize is often regarded as only ready to harvest once it dies back. But the optimum is as soon as it reaches 30-33% dry matter content, Mr Stroud stresses, which is usually while it is still green.
Waiting longer can increase starch in the cobs. But if this is at the expense of leaves dying back, then the plant will become less digestible to the cow. Also, this dead leaf tissue harbours yeasts and moulds. Monitor the crop’s increasing dry matter regularly,” he urges. “That way, you can give your contractor advanced notice of when 30-33% dry matter is likely to be reached.
2. Avoid the fermentation trap
Avoid the trap of thinking maize always ferments efficiently. It can typically lose nearly a tenth of its dry matter through inefficient fermentation, says Mr Stroud, and inefficient fermentation bacteria feed on sugars, so the metabolisable energy of the remaining silage will also be lower.

Take steps to improve fermentation, for example by applying a proven bacterial additive. In trials, an additive containing the efficient fermentation bacterium Lactobacillus plantarum MTD/1 has cut dry matter losses by half.
3. Head-off heating (aerobic spoilage)
As well as fermentation losses, maize silage is prone to similar losses from heating – caused by yeast and mould growth in the presence of air. Airtight conditions in the clamp (see below) are crucial to minimise these losses, says Mr Stroud, but this alone is not always sufficient, particularly in clamps with wider faces which, once opened, are exposed to air for long periods of time.
Applying a dual-acting bacterial additive allows you to target both problems,” he says. “Ecocool, for example, contains MTD/1 bacteria for fermentation, plus Lactobacillus buchneri PJB/1 to inhibit yeast and moulds. It has been shown to keep maize silage cool and stable for more than 10 days.
4. Clamp down on consolidation
Do not compromise clamp consolidation. It can be tempting if in a rush, Mr Stroud acknowledges, but you could be living with the consequences of poor preservation from air in the clamp for a long time.
Shorter chop lengths are useful to aid consolidation, especially if maize is dry. So consider chopping to 1.2-2.2cm. Also, fill clamps at a maximum angle of 20 degrees to the horizontal and in layers at most 10-15cm deep, to get maximum benefit from the compaction machinery. Typically, maize at 30% dry matter requires 25% of its weight arriving at the clamp per hour to consolidate it. So 100 tonnes per hour requires 25 tonnes, which means at least two machines rolling constantly.

5. Keep out air
Once air has been squeezed out, keep it out by creating as much of an airtight bag in the clamp as possible, says Mr Stroud. In practice, he says this means lining the walls with polythene side sheets down to the ground because concrete can be porous, and placing an oxygen barrier film on top of the maize, which ‘clings’ to it to seal the surface.
Side sheets should have at least a one-metre overlap on top of the oxygen barrier film, before the top sheet is pulled tight over the oxygen barrier film. Use a heavy, woven sheet over the top sheet to protect against damage, followed by plenty of weight. Remember, clamp bases rarely suffer from heating and spoilage simply because the weight of the silage above.
For more top tips, explore our maize silage advice or download our Handy Maize Guide today.
Contact Ken Stroud for more information on maize sustainability, 07713 197084 or via ken.stroud@volac.com
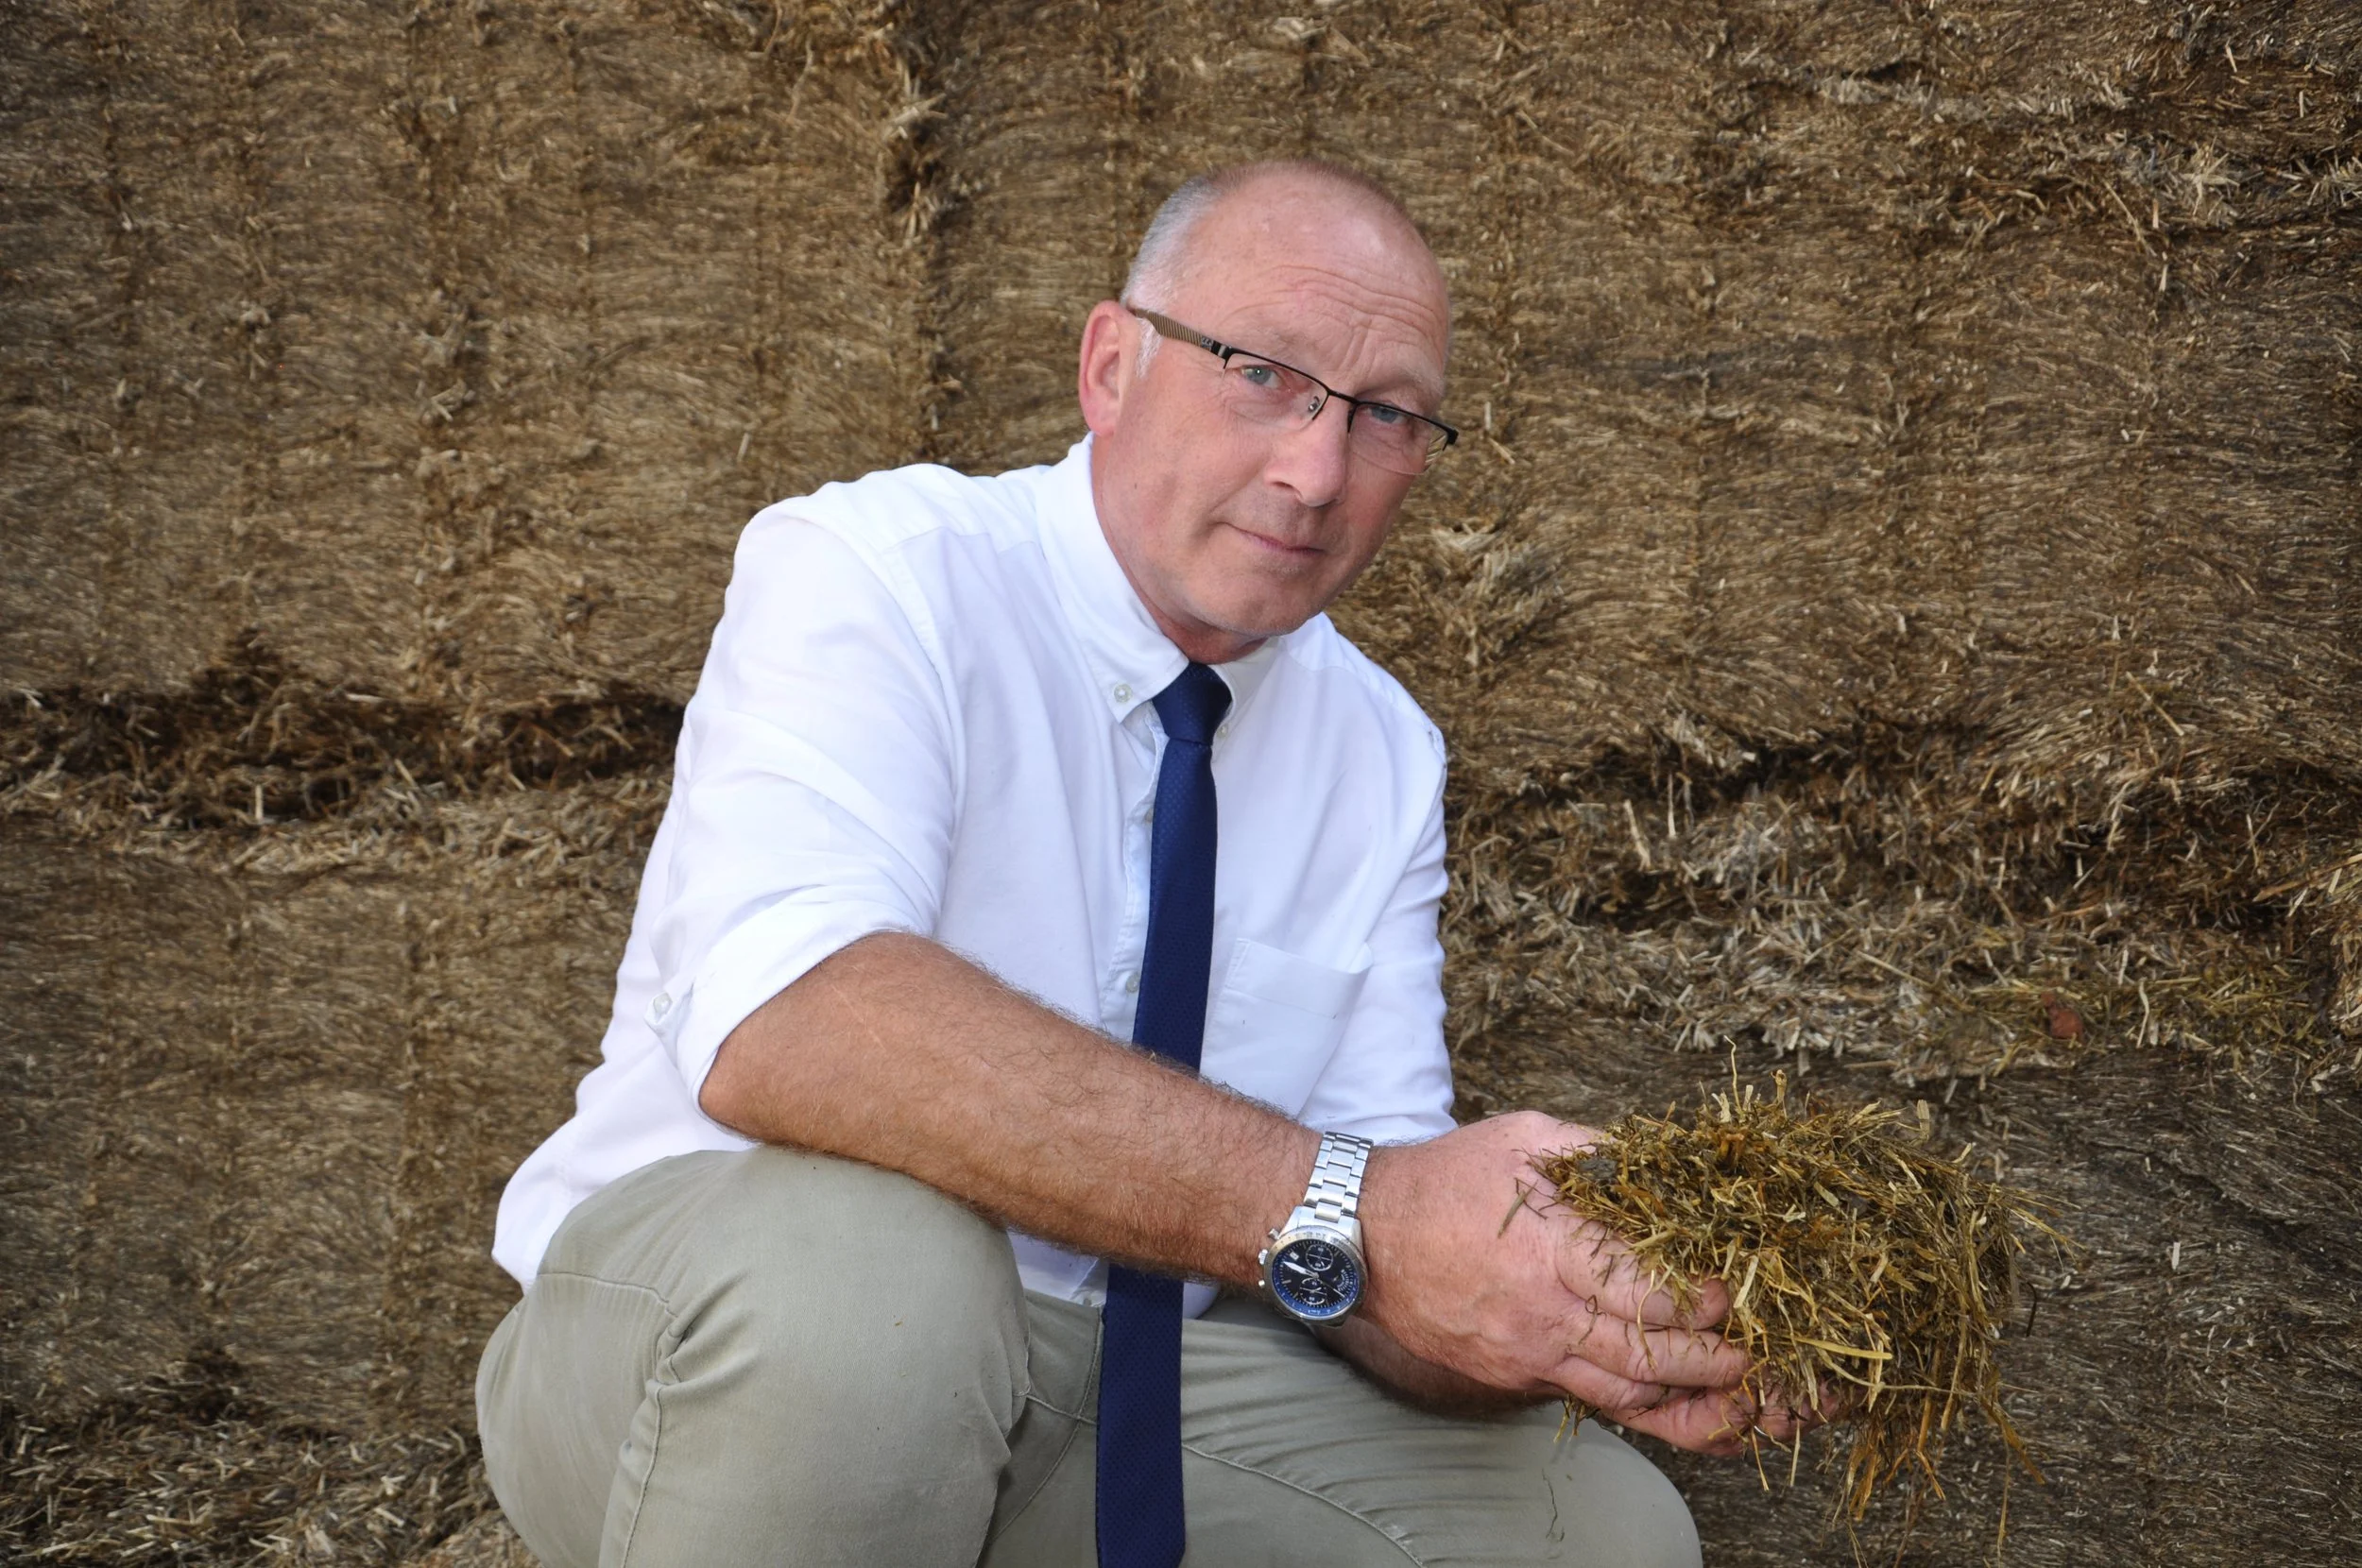
Harvest is one-shot opportunity to lock ‘goodness’ into maize silage
There is enough energy in a hectare of fresh forage maize to support about 30,000 - litres of milk production in dairy cows, once animal maintenance needs are met.

The starting point to good maize preservation is to harvest the crop at the correct time and in the correct way.
But decisions at harvest can have a huge impact on how much of this energy is actually preserved in the silage. Also, unlike grass, which is harvested multiple times a season, there’s only one chance to get maize harvest and preservation right.
It is easy to underestimate how much milk can come from maize, but it’s also easy to underestimate the losses in its feed value that can occur during storage.
Typical losses are around 15% of the maize dry matter ensiled,” says Peter Smith; Volac silage expert, “but they can be much higher. The most obvious loss occurs when maize silage heats up, caused by yeasts and moulds ‘feeding on’ the silage in the presence of air. But losses from poor fermentation can typically be 8%, or potentially much more.

The starting point to good preservation is to harvest maize at the correct time and in the correct way. You should harvest when the whole plant is at 30-33% dry matter and chop it to 1.5 - 2cm lengths. Also, don’t cut the crop too low.
Cutting at the correct stage and using the correct chop length and cutting height, not only optimises nutrient content but also sets the crop up for a better preservation. High dry matters and long chop lengths make it more difficult to squeeze the air out of the crop in the clamp, which encourages heating from the growth of yeasts and moulds.
Over recent seasons, many farmers have reported that maize silage dry matters have been high. This suggests crops have been harvested a bit late. To avoid this, keep regular checks on plant maturity before the expected harvest date, and keep your contactor regularly informed, explains Mr Smith.
A lot of attention is often paid to other stages of growing maize crops, such as ploughing and sowing date. But the same level of control may not always be applied to the preservation.
“This extends to using additives: it is easy to omit one, but that leaves the preservation much more open to chance. Look for a dual-purpose additive: one that not only controls heating but also improves fermentation.”
As an example, Ecocool applies two strains of beneficial bacteria – one shown to produce a rapid fermentation, and one that inhibits yeasts and moulds. It has been shown to reduce dry matter losses and also significantly delay heating of maize silage, and grass too.
With maize silage dry matter losses normally being around 15%, covering both potential problems like this is important. “There is an argument that greener maize needs more help with fermentation, while in more mature maize, yeast and mould levels increase.
Maize preservation can also often go wrong during clamp filling, because there’s pressure to complete the job quickly. Take time to consolidate the crop thoroughly and seal it fully – not only to starve spoilage organisms of oxygen but also to aid the fermentation.
To squeeze air out, you need to consolidate to a density of 700 kg of fresh maize per cubic metre. To achieve this, fill in horizontal layers a maximum of 15 cm deep. A second machine consolidating the clamp is vital to achieve this consistently.
After all this good work of excluding air from the clamp, don’t let it back in again. As well as a top sheet to cover the whole clamp, good quality side sheets all the way to the floor and coming up to give a 1-2 metre overlap on top of a cling film-type sheet on top of the silage are essential for success.
There is no single step to good maize preservation,” says Mr Smith. “It needs a multi-step approach.